Hello there! Its PARTY Time! My Boyfriend's birthday and his sister's graduation was around the same time this Month (June 10 & 7), so his other sisters and I decided to throw them a SURPRISE PARTY. As you can see from the title and the pictures below, the theme was Minions. We really wanted a pinata for the party, so we created a Minion pinata. Below are the steps we took to make the pinata. It took us a couple of days/ sessions to finish the pinata because we were trying really HARD to keep it a secret, so we only spent a short amount of time on it each day.
STEP 1: First, we blew up two balloons and tie the ends together. Then, we wrapped a piece a paper between the balloons to form the body of the minion. (We made a second one using a 12 pack soda box for the body instead of the paper - forgot to take a picture.)
STEP 2: We glued strips of newspaper using a mixture of 1/2 glue and water to both pinata. We repeated this step twice, maybe even three times to give it a thicker/stronger- built pinata. (The smaller pinata is the one made with a soda box around the body and the larger one is made using a piece of paper.)
STEP 3: After the newspaper was dried, we added another layer using white paper so we can paint over it. (This is a picture of the larger pinata that started to deflate and fall apart because the piece of paper was too weak and did not support the body properly, so we couldn't use it.)
Step 4: We painted the smaller pinata using yellow tempera paint as our base coat.
After it was dried, we added the minion's overalls using blue tempera; and his eyes, mouth, and goggle strap with black tempera paint.
Step 5: We cut the ends of two white cups and glued it to the pinata for the minion's goggles.
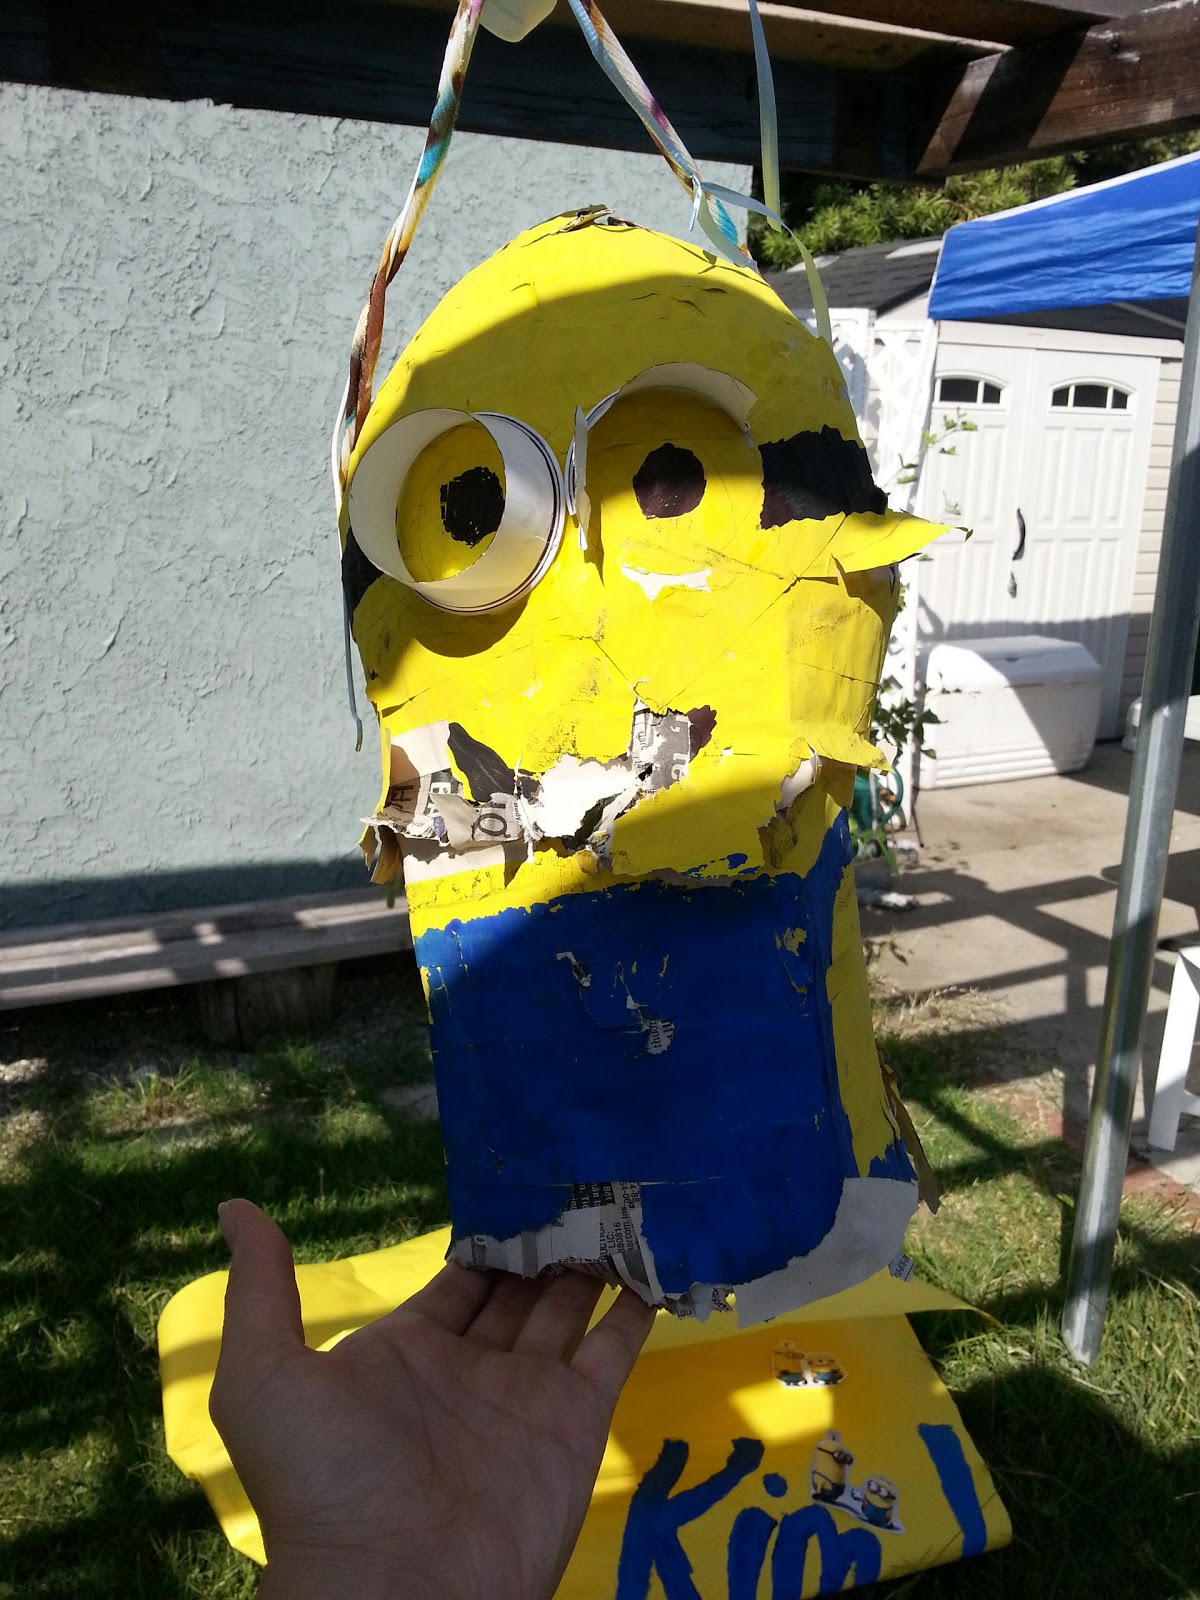
Step 6: We cut a hole on top of the minion and added candy. Then we secured it with a 5 gallon water bottle lid, and tied a piece of rope to each side of the minion (Sorry forgot to take pictures).
Step 7: HIT THE PINATA!!!
You can also go to
Kathy's Blog to check out all the party favors she created for the party!
I hope all of our ideas have inspired you! Now Go Throw a Minion Party!!! :D